Using Shopify Flow to Assign GTINs to New Products
Unlike Auto Assign, which runs on every new variant automatically, Shopify Flow gives you complete control over when GTINs are assigned.
For example, you can:
- assign GTINs when a product variant is created
- assign GTINs only for products with specific tags
- assign GTINs only for products in selected collections
- delay assignment until other setup tasks are complete
- combine GTIN assignment with other Shopify Flow actions
GS1 Assistant provides an Assign GTIN action that can be added to any Shopify Flow workflow.
Pro plan required
Shopify Flow GTIN assignment is available on the: Pro plan
If you are using Free/Basic, you can still assign GTINs manually or through Bulk Assign.
Before you start
Make sure you have:
- GS1 Assistant installed on the Pro plan
- A valid GS1 company prefix
- Available GTINs remaining in your block
- Shopify Flow installed
Shopify Flow is available for free in the Shopify App Store.
Important: GTIN assignment via Shopify Flow
GS1 Assistant supports GTIN assignment through Shopify Flow. To avoid tracking complexity, use a single Flow-based automation setup.
Example workflow: Assign GTIN when a variant is created
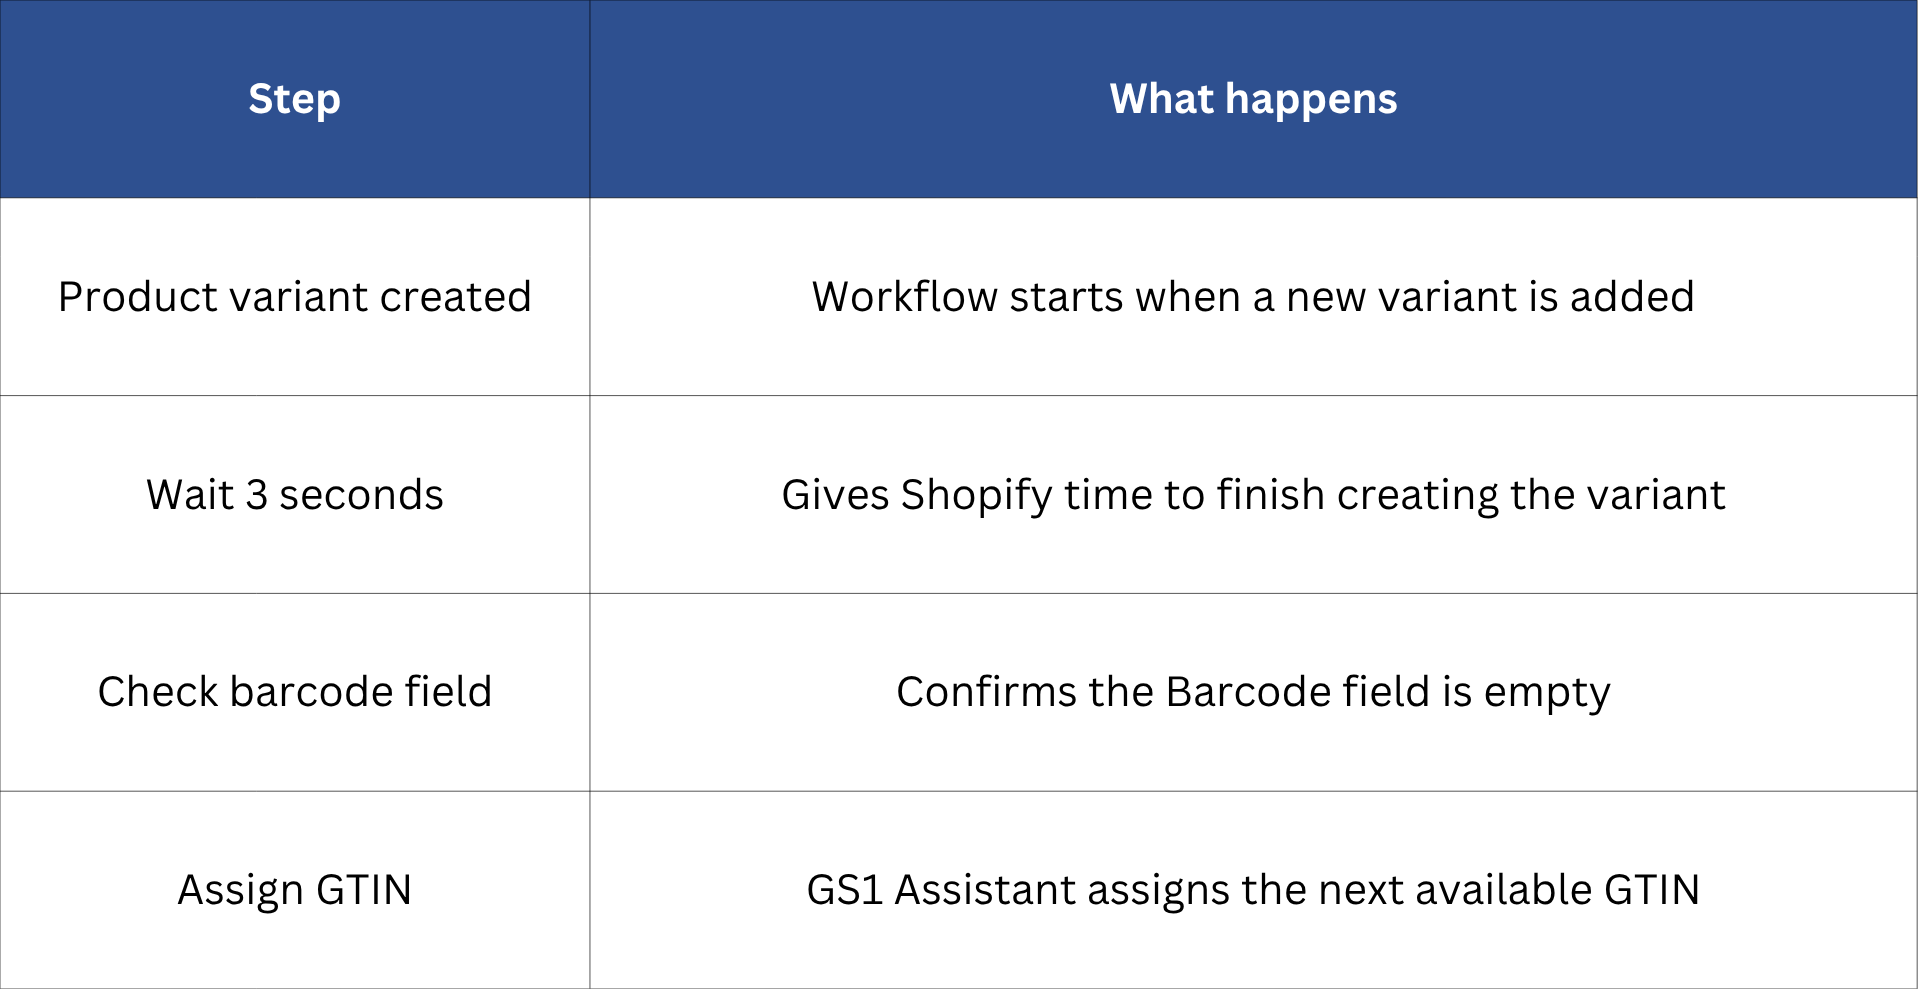
This is only one example.
The Assign GTIN action can be placed anywhere within a Shopify Flow workflow. You can use any trigger, condition, or sequence supported by Shopify Flow before the GTIN assignment step runs.
How to set up GTIN assignment using Shopify Flow
GS1 Assistant uses Shopify Flow to assign GTINs to new product variants. You can set this up using a ready-made workflow.
Step 1: Create or import a workflow
You can either:
- import the GS1 Assistant example workflow (check out this file)
- create your own workflow from scratch
The example workflow included in this article assigns a GTIN when a new variant is created and the Barcode field is empty.
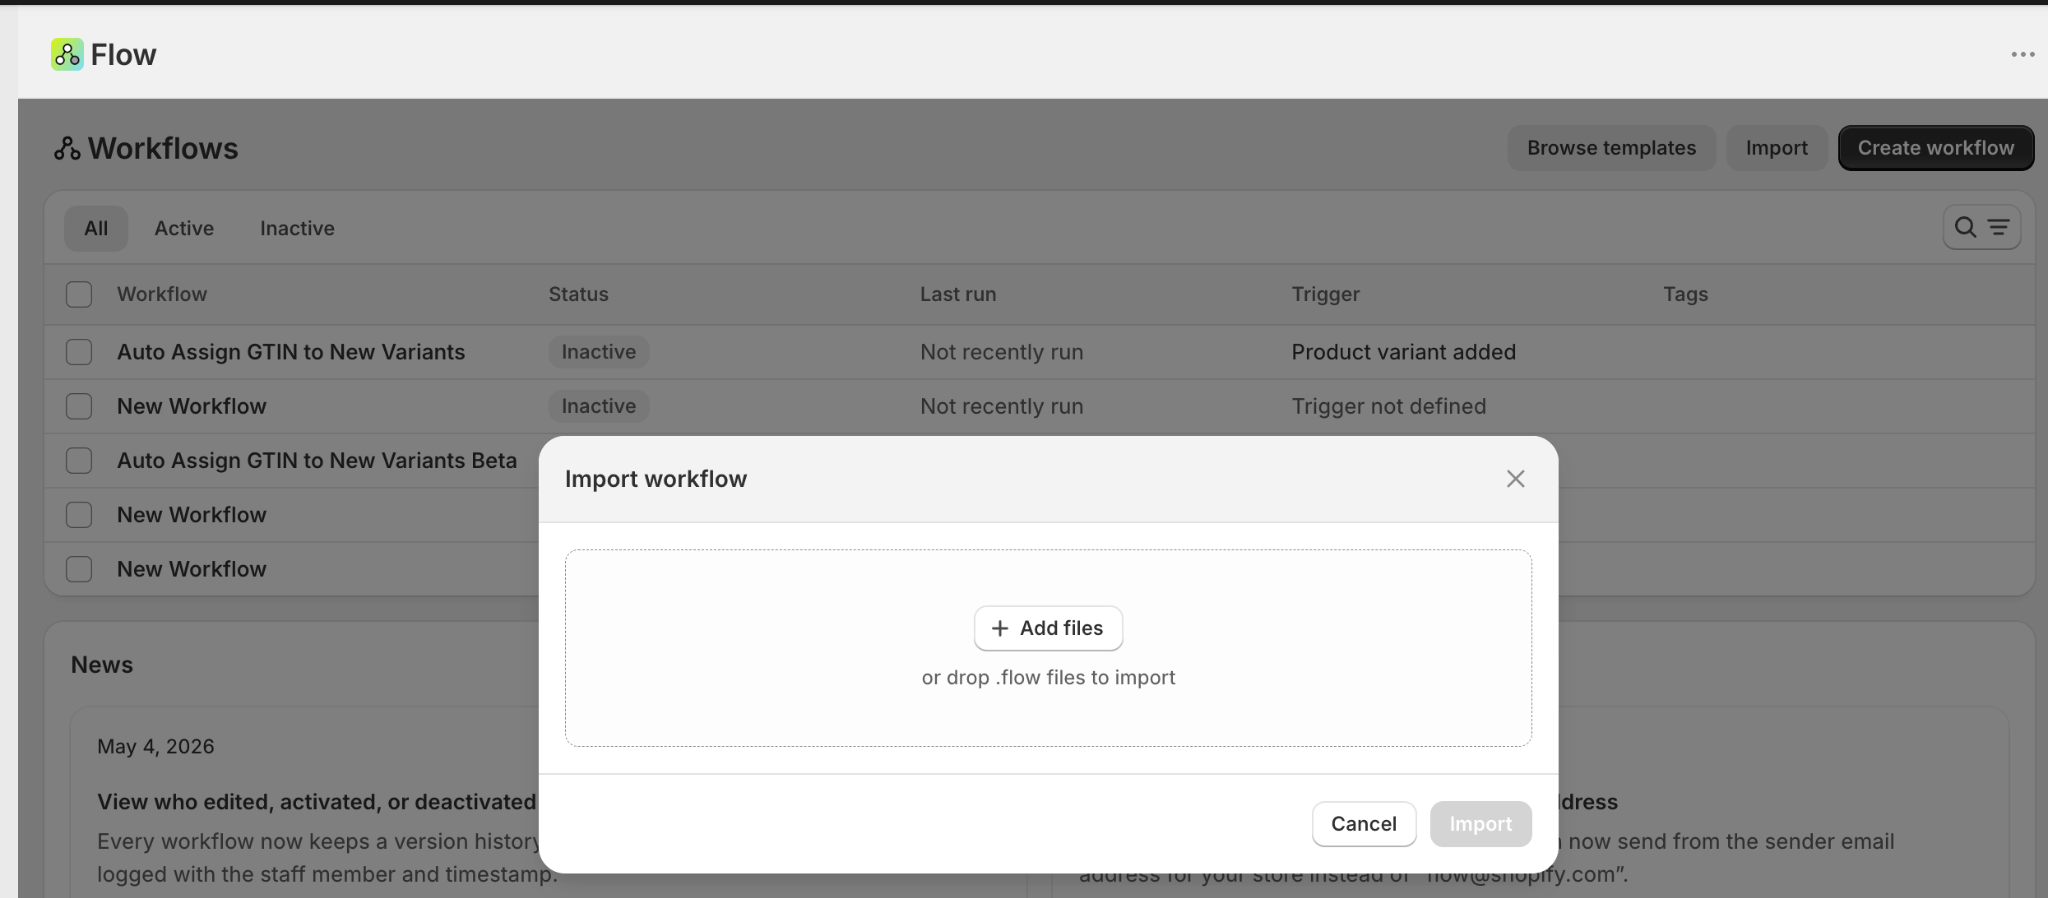
Step 2: Check the trigger
The workflow runs when a product variant is created.
Step 3: Add the GS1 Assistant action
On the True branch, add this action: GS1 Assistant → Assign GTIN to Variant
Step 4: Save and turn on the workflow
- Save the workflow
- Turn it on in Shopify Flow
Test the workflow
Before using the workflow for live products, run a quick test.
Test 1: Empty barcode field
- Create a new product variant
- Leave the Barcode field empty
- Save the product
After a short delay:
- GS1 Assistant should assign a GTIN
- the product should show OK status
Test 2: Existing barcode value
- Create another variant
- Enter any barcode value before saving
The workflow should:
- skip GTIN assignment
- leave the existing barcode untouched
GTIN not assigned?
If no GTIN appears after several minutes:
- Open Shopify Flow
- Check the workflow run history
- Confirm:
- the workflow triggered
- the condition passed
- the GS1 Assistant action executed
What happens after assignment
When the workflow runs successfully:
- GS1 Assistant assigns the next available GTIN
- Shopify’s Barcode field is updated
- the product appears in GS1 Assistant with OK status
You can also view the assignment inside the Variant Detail page.
Running low on GTINs?
Each automatic assignment uses one GTIN from your available range.
If your Available count reaches 0, the workflow will still run, but no GTIN will be assigned.
There should be an error or clear notification when this happens. Ideally, Shopify Flow could also send an email alert when GTINs run out or when the available GTIN count reaches zero, so it doesn’t go unnoticed.
Updated on: 10/10/2026
Thank you!